How to Correct Uneven Bevels on Expensive Kitchen Knives
You just noticed it. That beautiful, expensive kitchen knife you swore you'd baby forever? The edge looks like it was sharpened by a nervous raccoon. One side is thick and bulky. The other is a sliver. You feel a pit in your stomach. Actually, don't. Uneven bevels happen to everyone, even the obsessives. It doesn't mean the knife is ruined. It just means someone—maybe you, maybe a "professional" sharpener—got a little lazy with the angle. The good news? Fixing it is a methodical process, not a magic trick.
Diagnose the Damage Before You Panic
First, you need to figure out exactly how bad the uneven bevels are. Grab a bright light and hold the blade up to it. Look for where the light reflects off the edge. If the reflection is wider on one side than the other, you've got your answer. Another trick? Run your thumb gently across the blade—yes, *gently*—and feel for a burr. A burr that only exists on one side is a dead giveaway that you've been grinding at a steeper angle on that side. Once you know the culprit, you can stop guessing and start correcting.
Lock In Your Angle and Stick to It
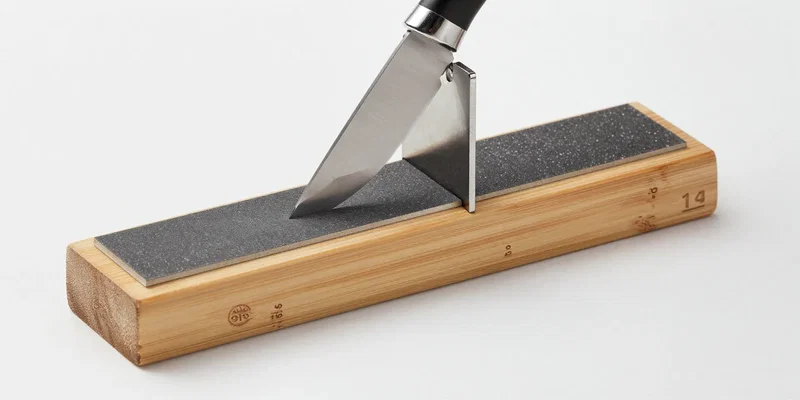
Here's the thing about bevel correction: you cannot wing the angle. Not on an expensive knife. Not if you want it to cut like it did when you first unboxed it. If the original grind was 50/50, you need to match it. If it's an asymmetrical Japanese blade—maybe 70/30—you need to honor that geometry. Use a sharpening guide, a coin trick, or a dedicated angle cube if you have to. But pick a number and marry it. Consistency is what separates a repair from a fresh disaster.
Grind the Heavy Side Down First
Now comes the satisfying part. You have to remove steel from the side with the bigger, uglier bevel. That is your target. Use a coarse stone—something in the 400 to 1000 grit range—and grind that side at your locked-in angle. Don't flip the knife back and forth like you're making a panini. Stay on the heavy side. Grind until the bevel looks symmetrical to the other side. This is not a race. Heavy pressure and speed just overheat the edge and ruin the temper. Slow, flat, patient strokes. Check your progress with that light every few minutes.
Even Out the Edge With Precision
Once the heavy side is brought back in line, you switch to balancing. Alternate sides with each stroke, keeping the exact same angle. This isn't just about making it look pretty. It's about stress. An unbalanced edge twists in hard vegetables and drifts during slicing. If you did your coarse work right, this stage is just polishing the geometry. Move up through your grit progression—1000, then maybe 3000, then 6000 or higher if you're chasing a mirror finish. The knife should start to feel like a single, unified piece of metal again instead of two warring factions.
Check Your Work and Get Back to Cooking
How do you know the bevel correction worked? The knife tells you. It should glide through paper silently. It should bite into a tomato skin without a sawing motion. Hold it up to the light one last time. The reflection should be a thin, even line running the full length of the edge. No wobbles. No thick spots. Just a straight, honest bevel. If it's not there yet, go back to the stones for ten more minutes. Expensive kitchen knives deserve that patience. And honestly? You just saved yourself a lot of money and heartache. Now go chop something.